
Don't have seeds yet? Click here so we can send them to you!
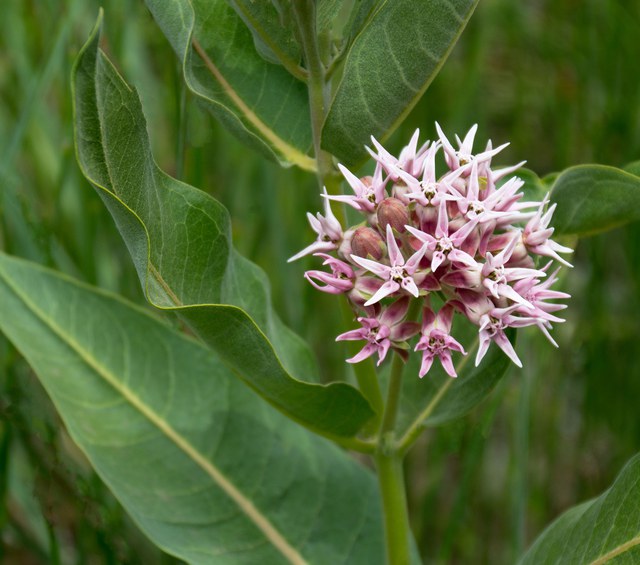
Showy Milkweed (Asclepias speciosa) Planting Instructions
 Sowing seeds directly in your garden doesn’t tend to work well with Showy Milkweed in our area. It is best to start the seeds indoors and transplant your seedlings to your garden once they’ve grown a bit. Here’s how:
- Fill a small, biodegradable (like a peat pot or newspaper pot, if possible) container that has drainage holes with potting soil, spread a few seeds on top, then sprinkle lightly with a small amount of additional soil.
- Water and place in a sunny windowsill or on a seed warming mat. Milkweed likes warm temperatures to sprout, so be sure to keep your seeds warm. You can even start your seeds in the summer when warm temperatures will help with sprouting and then you can plant in the fall.
- Continue to water 2-3 times a week, making sure the soil doesn't get dry and crumbly, but also isn't so wet that there's standing water. Keep in the sun until your seedlings are several inches high.
- If you are planting in the spring, plant after the threat of frost has passed. Carefully transplant your seedlings to a sunny area in your garden or yard, leaving space for the milkweed to grow without competition. If your seedlings are in a biodegradable pot, cut the bottom out and place directly in your garden or yard. Water until they become well established.
Helpful Hints:
- Milkweed seeds like warm temperatures to sprout. Start in summer (instead of spring) and plant them in fall once temperatures have dropped. Or, if starting in the spring, use a seed warming mat, or make sure to put in a warm, sunny window.
- Milkweed seedlings are slow to form roots, so to make transplanting easier, we recommend using biodegradable pots (like peat pots or newspaper pots) and planting the whole pot in the ground. Don't forget about hardening off. Make sure you slowly expose your milkweed to sun and other outdoor conditions, before planting it outside. See indoor seed starting tips here.
- Once your milkweed becomes established, it will start spreading underground via its rhizomes. If you’d like to control spread, consider planting in a raised bed.
**Milkweed contains toxins that can be harmful to pets, livestock, and other people, if ingested.**
If you'd like a pdf of the planting instructions, check out our instructions in English and in Spanish.
Learn more: