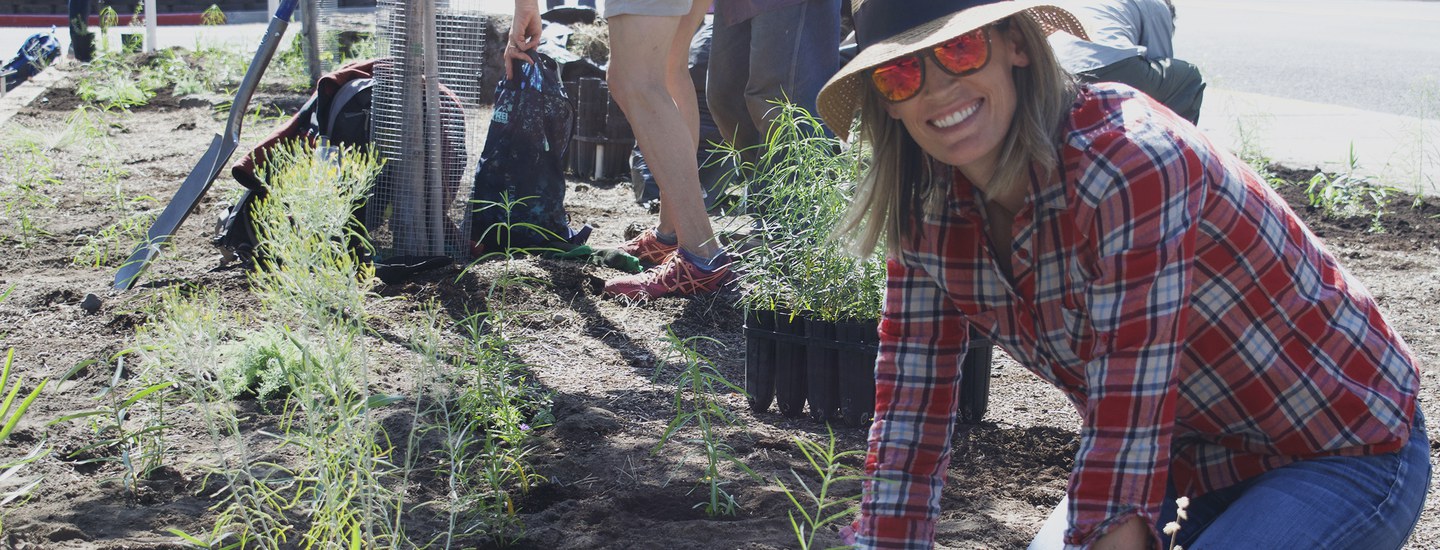
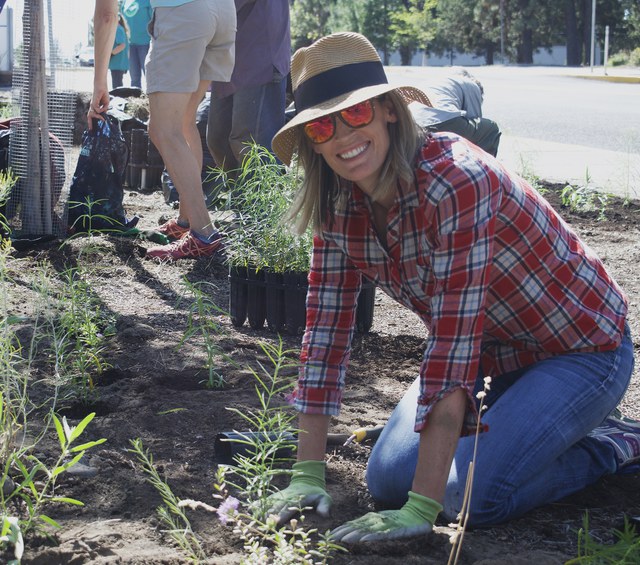
Thanks for deciding to grow native milkweed to help with monarch butterfly conservation! We appreciate your efforts! Do you need a hand with the growing? Are your milkweed seeds not germinating like you thought? Don't know where to start? Milkweed can often be a difficult plant to grow from seed. Don't be discouraged if you're having trouble! Let us help!
Here are the Land Trust's tips and tricks for growing milkweed from seed:
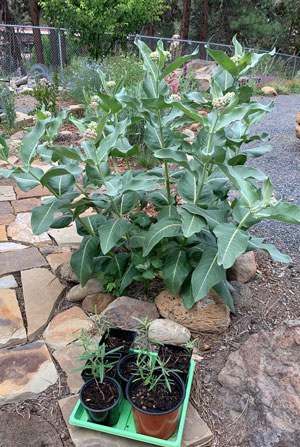
1. Local seeds work best. Native milkweed is not only better for monarchs (due to disease transmission on tropical milkweed), but it is also easier to grow! Showy milkweed and narrow leaf milkweed are native to Central Oregon and adapted to our climate. When growing milkweed from seed, make sure you have native! If you live in Central Oregon, let us know and we'll send you showy milkweed seed packets! Then, take a look at our showy milkweed planting instructions, both in English and in Spanish.
2. Do not scatter your seeds. There are many types of plants that grow well if you scatter the seeds out in your yard. Sadly, milkweed is not one of them. Our plant experts have shared that milkweed does not like being scattered. Start them in pots instead.
3. Use biodegradable pots to grow your seeds. Milkweed seedlings are slow to form their roots. This makes it easy to inadvertently damage their roots when you transplant them into your garden. To avoid this, you can grow your seedlings in a biodegradable pot and then plant the seedlings, pot and all, directly in the soil when they're ready. A helpful trick is to cut the bottom off your biodegradable pot right before you plant the entire thing, so the roots are free to expand. You can also make your own biodegradable pots out of newspaper.
4. Use a dusting of soil on top of seeds when planting. These little seeds need the sun to start germinating! When planting your seeds, it's recommended to put them on top of the soil, then lightly dust the seeds with soil. Make sure you're not using a heavy hand with the soil on top! Your seeds should be covered by no more than 1/4 inch of soil--the size of a pencil eraser.
5. Keep your seed starts warm. Milkweed likes warm starting conditions. Put your seed pots in a warm southern window, greenhouse, or use a seedling heating mat. You can also wait to start your seeds in the summer and then plant in the fall.
6. Provide the "right amount" of water. Milkweed seeds are just like Goldilocks--they like not too much, not too little, but just right. Make sure when you water your milkweed seeds/seedlings, there isn't standing water in the bottom of the container. You also don't want your pot to get dried out with crumbly soil. You'll want your water "just right." Your soil should feel like a wrung out sponge--damp, but not soggy. Go ahead, get in there to feel your soil!
7. Expect milkweed to germinate slowly. Milkweed can take its sweet time to germinate. It needs the ideal conditions--the right amount of moisture, warm temperatures, and a good amount of sun--before it decides to sprout. Don't get discouraged if it's taking a while! It can take 10 days to sprout in ideal conditions, but can take a month or more if conditions aren't ideal.
8. Water seedlings gently. Milkweed seedlings are delicate. One way to water seedlings gently is by putting your seedling pot in a tray. You can place 1/2 inch of water in the tray and the soil will "drink up" the water. If you are using this method, make sure to remove excess water from the tray after a couple of hours. Another way to water seedlings gently is to use a spray bottle or water mister.
9. Avoid having your milkweed get leggy. When starting milkweed indoors, your little seedlings might start to get "leggy" and long. These leggy stems are unstable and should be avoided, if possible. Seedlings grow leggy when they're stretching to find the light. If you're using a grow light, make sure the bulb is close to your seedlings. Some people use a gently circulating fan in an effort to strengthen their plants. Sometimes, the best option is to get them outside (if it's warm enough)!
10. Transplant when seedlings are no more than 3 inches tall. The best time to plant your milkweed in the garden is when your seedlings are no more than 3 inches tall. Don't forget about hardening off. Make sure you slowly expose your milkweed to sun and other outdoor conditions, before planting it outside. See indoor seed starting tips here.
11. Transplant your seedlings to a sunny spot in your garden. Milkweed loves the sun! It doesn't have to be full sun, but your milkweed will be happiest if it has a decent amount of sun (4-8 hours every day, depending on strength of the sun). If you plant your seedlings in a container pot, you can move them around and try different spots to see what your milkweed likes the best!
12. Give seedlings space in your garden. Milkweed does not like competition from other plants when it's starting out. You'll also want to make sure the soil around your seedling is free of debris, as milkweed love having warm soil.
13. Continue regular watering of your seedlings. Milkweed, like many plants, will continue to need regular watering in order to establish their roots. This can sometimes take a couple of years. Once their roots are established, they won't need as much water and will be perfectly happy with our Central Oregon climate.
14. Watch out for spreading rhizomes! Milkweed grows and spreads underground via its rhizomes. If you'd like to control the spread of your milkweed, consider planting in a raised bed or in plant containers. They generally won't start spreading extensively until year 3 or 4 (and only if they're super happy), but be careful if you don't want a large amount of milkweed in your garden or yard!
Learn more:
- Check out our showy milkweed planting instructions, both in English and in Spanish
- Get native milkweed seeds from us!
- The Magic of Milkweed
- Creating a Butterfly Garden