You’ve got your native milkweed planted. You’ve already added some additional pollinator-friendly flowers to your garden. As you continue to help native pollinators thrive, is there anything else you can do for our pollinators? Yes! Give our native bees a safe place to nest by creating a bee home!
What exactly is a bee home? Different bees need different structures for nesting. Tunnel-nesting bees, which make up approximately 30% of bees in North America, build nests in aboveground cavities or tunnels. Bee homes encourage these tunnel-nesting bees to nest near the native plants you have in your yard.
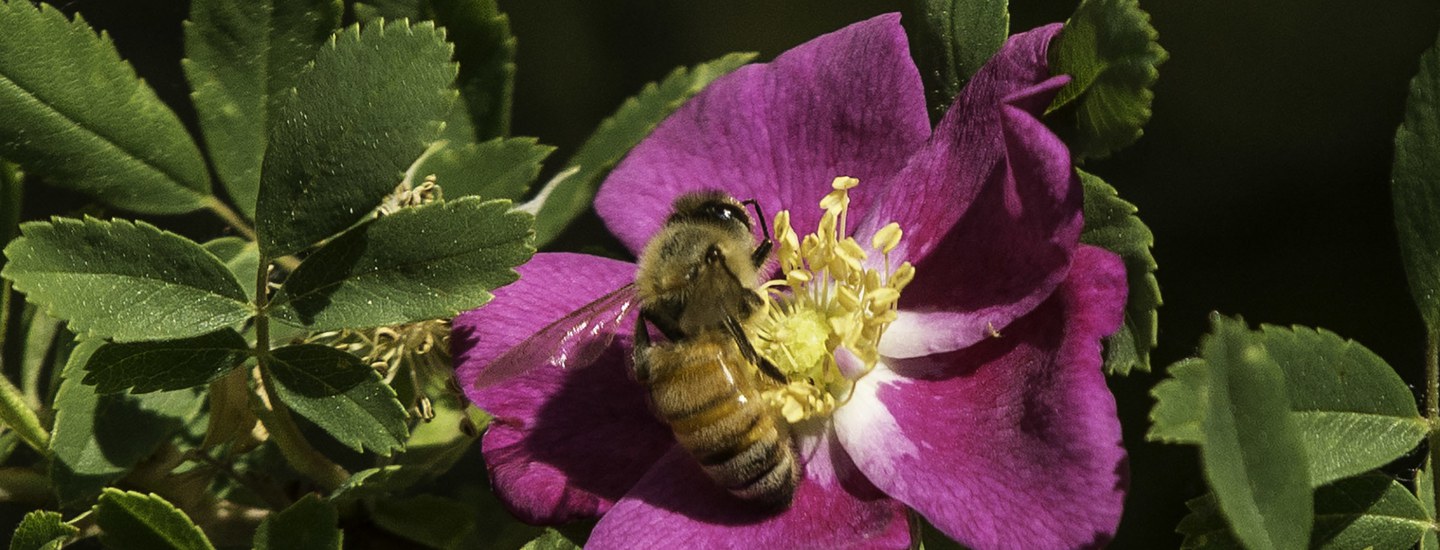
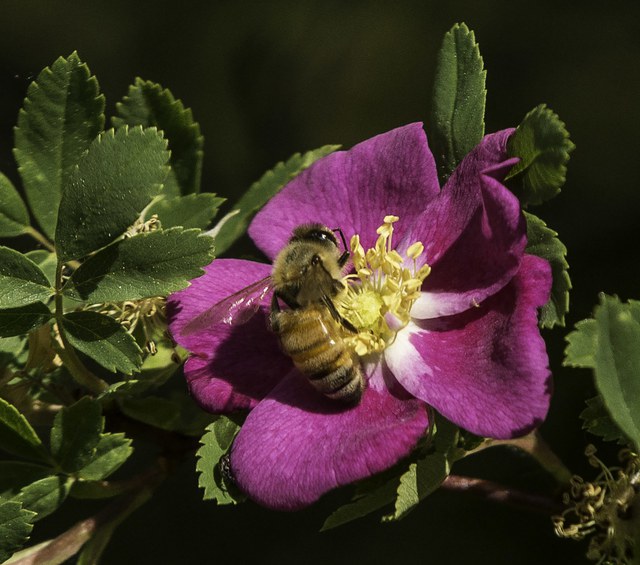
Let’s talk about bees. Many folks associate bees with painful stings and swarms. This is because we often confuse bees with wasps and yellow jackets. Tunnel-nesting bees are nonaggressive unless they’re grabbed or feel trapped. Distinct from honeybees, they don’t live in colonies. They are solitary creatures with each female using an individual nest. There are two main kinds of tunnel-nesting bees: mason bees, which nest in the spring; and leaf-cutter bees, which nest in the summer.
Here’s what tunnel-nesting looks like: female bees construct individual chambers in each hole/tunnel with mud and plant material. Then, they lay a single egg in each chamber and leave some pollen in each so the babies have something to eat after they hatch. Once the entire tube is filled with these chambers, the female will close off the tube/tunnel with additional mud and plant material. These babies will remain in the tube through the winter, then emerge in the spring.
How do you create a bee home for these little ladies and their even tinier babies? There are four main things these bees like for their nests:
- Protection from rain
- Protection from wind
- Tunnels with a closed end
- Protection from predators
From here, there are a few different styles of bee homes. Let’s look at drilled wood blocks first.
Take a wooden block that is 8-12 inches long. You can reuse whatever you have of this size, as long as it’s untreated wood. Drill horizontal holes in the wood. For holes that are less than 1/4”, drill the hole 3-5 inches deep. For holes that are 1/4 - 3/8”, drill the hole 5-6 inches deep. Make sure you do not drill all the way through the wood! Then, make multiple holes for multiple bees, but keep the holes at least 3/4” apart from one another.
A sharp drill bit being used at high speed is recommended in order to make the tunnels as smooth as possible. Bees tend to avoid rough tunnels that could damage their wings.
Once you have your drilled tunnels, add something to keep the entrances dry. This could be a corrugated metal roof, a wooden roof, a bark overhang, or anything else that can stand up to the weather. Get creative! You can also protect your bee house by putting it under your garage or shed eave. Attach your bee home to something that keeps it roughly 3-15 feet off the ground.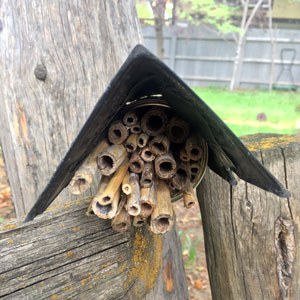
You can also create a bee home out of hollow tubes. Find some paper straws (no plastic!), bamboo, or hollow plant stems. Gather the bunch and hold it together with tape, zip ties, string, or wire. Rubber bands will dry out and break in the sun, so they’re not recommended. You can also pack the hollow tubes together in a container, like an aluminum can, milk carton, or PVC pipe. Ensure that one end of your tubes is closed. Create an overhang for your bee home. You can get creative again! If you’re using an aluminum can, perhaps you paint the outside of the can to match some of your wildflowers. Once your bee home is ready, you’ll want to attach it to something that keeps it roughly 3-15 feet off the ground.
Before you get started, here are some additional tips to consider:
- Make sure your bee home is not in the path of any pesticide use! This would prove deadly for the poor bee mamas and babies.
- Multiple bee homes are recommended instead of one large bee home. This helps with bee predators. If a predator finds one bee home, it won’t wipe out the whole community if you have multiple smaller homes.
- Bees prefer dark colored homes, so if you can char or darken the front of your bee home, it will be more inviting.
- Southern exposure means your bee home will get warm sun first thing in the morning, something that bees really like.
- If your bee home has spider webs on it, it means the location is too dark. Try to find a spot with a little more sunlight.
- There are several ways to clean your bee homes to reduce the spread of disease. These include using pipe cleaners to clean out the previous year’s nests, bleaching the wooden bee home, replacing the bee home each year, and rotating between a couple different bee homes with one being cleaned out and one available to bees.
Congratulations! Soon you’ll have a new bee suburb in your garden, enjoying brunch at the nearby wildflowers while taking in the beautiful view.
Learn more:
Resources:
- Modern Farmer, How to Build a Native Bee Hotel
- Pollinator Partnership, Homemade Sweet Homes
- Michigan State University Extension, Building and Managing Bee Hotels for Wild Bees
- Chicago Botanic Garden, DIY Bee Homes